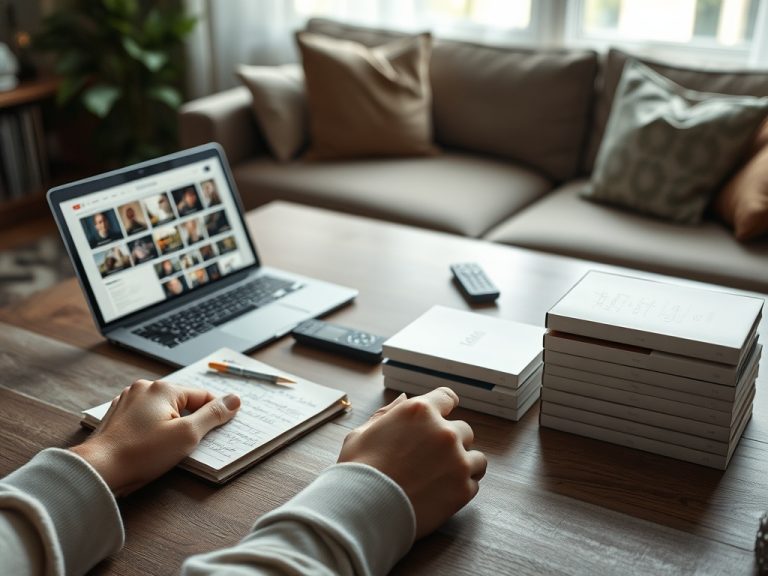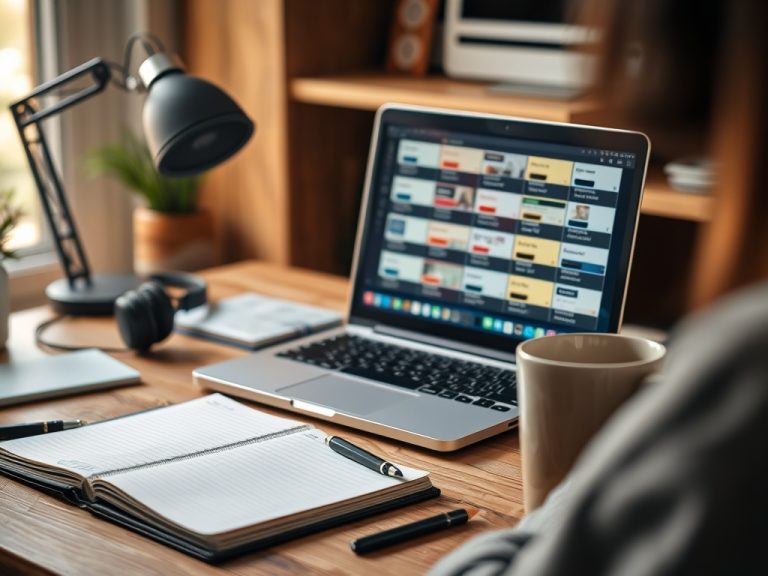
A simple home interview setup needs a quiet room, soft light, clean audio, stable framing, and a short B-roll plan. You do not need a studio, but you do need control over distractions.
TL;DR: Choose the quietest room, place the subject near soft light, use an external microphone if possible, frame with depth, record room tone, and capture B-roll that explains the story.
Pick the Room Before the Gear
The best camera cannot fix a noisy, echo-heavy, cluttered room. Start by listening. Turn off fans, appliances, notifications, and anything that hums. Clap once and hear whether the sound bounces sharply. Rooms with rugs, curtains, bookshelves, and soft furniture usually sound better than empty rooms with bare walls.
Then look at the background. A good interview background gives context without stealing attention. A bookshelf, worktable, instrument, art wall, or neutral corner can work. Avoid visible brand names, messy piles, and bright windows directly behind the subject unless you know how to expose for them.
YouTube’s official creator content strategy resources are useful for thinking about what the video is meant to accomplish before choosing format, length, and publishing rhythm.
Shape the Light Simply
Soft light is usually the most forgiving. Place the subject facing a window at a slight angle, not directly in harsh sun. If window light is too strong, use a sheer curtain or move farther away. If the room is dark, use a lamp bounced off a wall or a soft LED panel. Keep overhead lights off if they create shadows under the eyes.
A basic interview setup uses key light, fill, and background separation, but you can simplify. One large soft source from the front side and a little practical light in the background can look natural. The goal is to see the eyes clearly and keep the face from blending into the wall.
Record Sound Like It Matters Most
Viewers may forgive imperfect video faster than bad audio. Use a lavalier microphone, small shotgun microphone, USB microphone, or phone recorder placed close to the subject. Test levels before the interview. The voice should be clear without distortion. Record 20 seconds of room tone after the interview so you have clean ambient sound for editing.
Ask the subject to avoid tapping tables, handling jewelry, or turning pages near the microphone. If the room has unavoidable noise, pause between answers when loud sounds pass. This gives you cleaner edit points.
Frame the Shot With Depth
Place the subject a few feet away from the background if space allows. This creates depth and reduces the flat look of a person pressed against a wall. Position the eyes roughly in the upper third of the frame. Leave a little looking room in the direction the subject faces if they are not looking into the camera.
For remote interviews, raise the camera to eye level. A laptop on a table often points upward, which can feel awkward. Stack books, use a tripod, or adjust the chair. If the interview supports a larger creative project, you can apply the same planning discipline used in creating a consistent character sheet: repeatable visual choices make the final piece feel intentional.
Plan B-Roll Before You Ask Questions
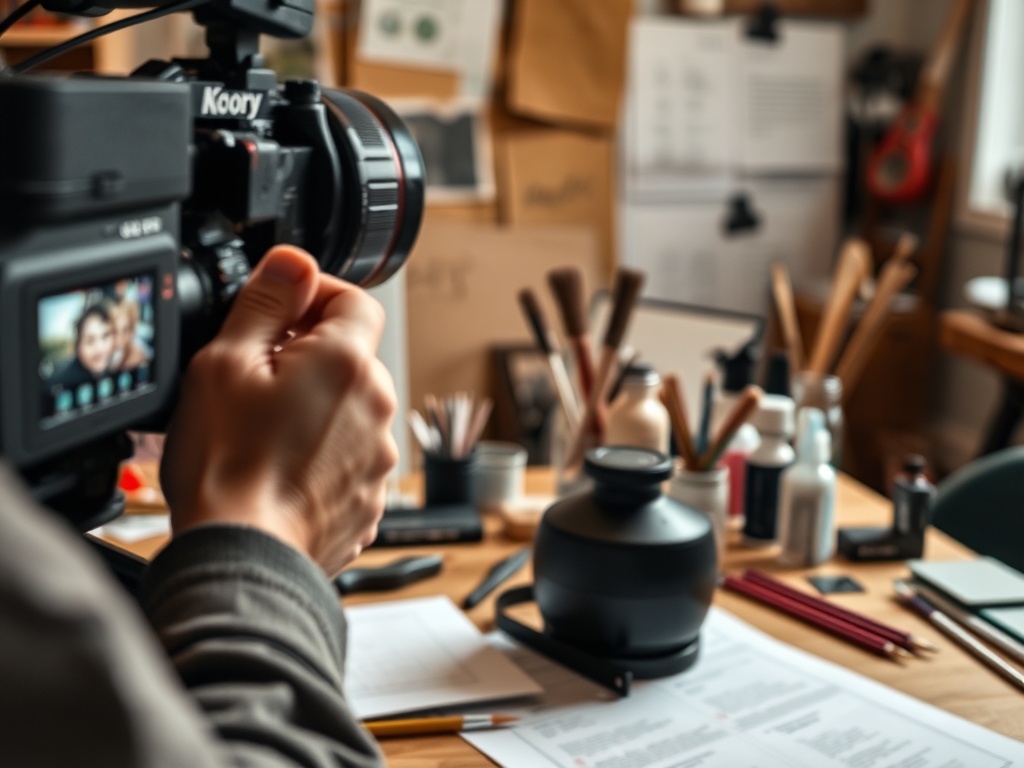
B-roll should not be random filler. It should answer visual questions the interview raises. If the subject talks about painting, capture brushes, canvas texture, hands mixing color, and the studio entrance. If they discuss a book club, capture pages turning, chairs arranged, and notes being prepared. If they talk about music, capture instrument details, cables, sheet music with text blurred, or a venue exterior without readable signs.
Make a shot list with three categories: place, process, and detail. Place establishes where the story happens. Process shows action. Detail gives texture. Ten good B-roll shots are more useful than fifty disconnected clips.
A Simple Gear Ladder
| Level | Video | Audio | Light |
|---|---|---|---|
| Starter | Phone on tripod | Wired earbuds or phone close by | Window light |
| Better | Mirrorless or newer phone | Lavalier microphone | Soft LED or bounced lamp |
| Strong DIY | Camera with manual control | External recorder or shotgun mic | Soft key plus background practical |
Do not upgrade everything at once. Upgrade audio first if voices are unclear. Upgrade support next if the image is shaky. Upgrade lighting when the subject looks flat or shadowed.
Respect Consent and Platform Rules
Tell the subject where the interview will appear and how long it may be used. Confirm whether they are comfortable with behind-the-scenes B-roll, family photos, personal documents, or location details. If you publish on a platform, review the platform’s creator policies and guidelines before posting, especially when the video includes music, copyrighted materials, or sensitive claims.
Consent also applies to people in the background. If you are filming at home, make sure housemates, children, clients, or neighbors are not accidentally included.
Common Mistakes to Avoid
Do not put the subject in front of a bright window without controlling exposure. Do not rely on a microphone across the room. Do not skip a test recording. Do not ask every question in one long take if the subject gets tired. Break the interview into sections.
A good home setup works when the viewer forgets about the setup and listens to the person. Measure success by clear voice, steady image, natural light, and B-roll that makes the story easier to understand.
Prepare the Subject Before Recording
Send the subject a short note before the interview with the topic, approximate length, clothing guidance, and any objects they may want nearby. Ask them to avoid noisy fabrics, bright tiny patterns, and jewelry that taps the microphone. This is not about controlling personality. It is about removing technical distractions so the conversation feels natural. A calm subject gives better answers, and a prepared room gives you more usable footage from the same amount of time.
Do one full technical rehearsal, even if it lasts only five minutes. Record the subject answering a simple warm-up question, then play it back through headphones and on a normal speaker. Check framing, mouth sounds, background noise, eye line, and whether the light changes when the subject leans forward. Fixing these details before the real conversation protects the best answers.
Save that test clip until the project is finished. It becomes a baseline if later footage suddenly looks or sounds different.