Backup camera problems can come from the lens, camera unit, wiring, display screen, software, fuse, or control module, so the repair starts with identifying which part of the image path has failed.
Quick takeaways
- A blurry image is different from a black screen, flicker, delay, or no guide lines.
- Cleaning the lens helps only when the problem is dirt, moisture, or obstruction.
- Because rear visibility is safety related, repeat failures should be diagnosed rather than ignored.
Start With the Symptom on the Screen
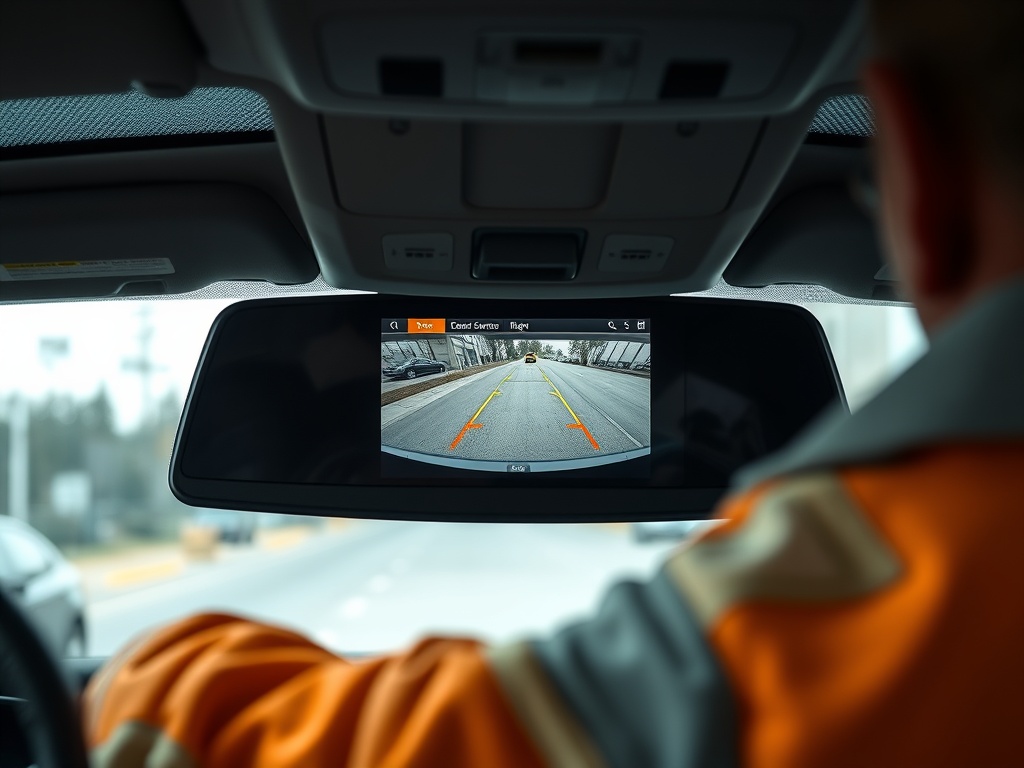
The screen behavior gives the first clue. A foggy or distorted image may point to lens contamination, moisture, or camera damage. A black screen may suggest power, wiring, fuse, camera failure, display failure, or software communication problems. A flickering image often raises wiring, connector, or ground questions. Missing guidelines may be a calibration or software setting issue.
Rear visibility technology became a major safety focus because backing crashes can injure people behind a vehicle. The U.S. Department of Transportation announced NHTSA's rear visibility rule requiring the technology on new vehicles under 10,000 pounds by May 2018 through its auto repair basics.
Quick Owner Checks Before Booking Service
Clean the camera lens with a soft cloth and mild cleaner, then check whether the image improves. Look for mud, road salt, ice, wax, or a license plate frame blocking part of the view. Restart the vehicle and see whether the issue appears in every gear selection or only sometimes. If the vehicle recently had body work, liftgate repair, bumper work, or a battery disconnect, mention that to the shop.
Do not remove interior panels or probe wiring unless you know the system. Many cameras are tied into infotainment, parking sensors, body control modules, or driver-assistance systems. A simple trim mistake can create rattles, water leaks, or damaged connectors.
| Symptom | Likely area to inspect first | Possible next step |
|---|---|---|
| Cloudy image | Lens dirt, moisture, cracked camera cover | Clean, inspect seal, test camera |
| Black screen | Power, fuse, wiring, camera, display | Check supply and communication |
| Flicker or intermittent image | Connector, ground, harness flex point | Wiggle test and wiring inspection |
| Image works, lines missing | Settings, calibration, module data | Software and calibration check |
| Screen dead for all functions | Display or infotainment unit | Separate screen diagnosis |
How Shops Narrow It Down
A technician usually confirms the complaint, checks for relevant fault codes, tests power and ground at the camera, inspects harness routing, and verifies whether the display receives a signal. On some vehicles, the camera is part of a larger network. On others, it behaves more like a straightforward video device. The right test depends on the design.
If the system uses steering-responsive guidelines or driver-assistance integration, calibration may be part of the repair after camera or body-panel work. The eCFR description of rear visibility systems helps show why the system is treated as a defined vehicle safety function in 49 CFR 571.111.
Cost and Urgency Considerations
Costs vary because the failed part may be cheap or buried. A dirty lens costs almost nothing to address. A camera in a liftgate handle, damaged harness through a hatch hinge, water intrusion into a module, or infotainment screen fault can be much more involved. Labor time often depends on trim removal, access, programming, and whether body seals must be disturbed.
Urgency depends on how you use the vehicle and whether other safety features are affected. You can still reverse using mirrors and direct observation, but a failed camera removes a safety aid that many drivers rely on. If the screen also controls climate, audio, or vehicle settings, the repair may become more than a camera concern.
What Not to Assume
Do not assume the camera is bad just because the screen is black. Do not assume the screen is bad just because the picture flickers. Do not assume a software update will fix water intrusion or damaged wiring. Backup camera diagnosis is a chain test: lens, camera, harness, power, ground, module, display, and settings.
Repair access can also matter if the system requires programming, which connects this topic to
A Clear Path to a Working View
Start with safe cleaning and observation, then book diagnosis if the problem returns or affects the display. Tell the shop exactly what the screen does, when it happens, and whether any recent work was performed near the rear of the vehicle. That turns a vague electronics issue into a focused repair path.
Before Replacing the Camera, Confirm the Chain
A backup camera repair should follow the signal path. The technician needs to know whether the camera has power and ground, whether the harness carries the signal, whether the module recognizes the camera, and whether the display can show the image. Replacing the camera first may work in some cases, but it can also miss a broken wire or screen fault.
Ask whether the system needs calibration or programming after repair. Some basic cameras do not, while others connect with steering-angle data, parking guidelines, parking sensors, or driver-assistance features. If the rear hatch, bumper, tailgate, or liftgate was repaired, alignment and harness routing deserve extra attention.
After the fix, test the view in daylight and at night if possible. Check for delay, flicker, moisture, missing guide lines, and screen behavior when shifting into reverse. The camera is a visibility aid, not a replacement for mirrors and direct observation, but it should work predictably every time.
Moisture and Body-Repair Clues
Moisture is one of the most useful clues in camera diagnosis. A fogged lens, water trails in a liftgate, intermittent image after rain, or corrosion near connectors can point toward sealing problems rather than a simple failed camera. If the vehicle has had rear collision work, hatch work, or aftermarket accessories installed, tell the technician. The repair may need a harness or seal inspection before replacing electronics.
Also note whether other rear features misbehave, such as license-plate lights, trunk release, parking sensors, rear wiper, or liftgate lock. Shared harnesses and grounds can create symptoms that seem unrelated. A focused technician will use those clues to test the circuit path instead of treating the camera as an isolated part.
Post-Repair View Check
After repair, test the camera in several conditions: daylight, low light, rain if possible, and after opening and closing the hatch or trunk. Watch for delay, flicker, rolling lines, moisture, and changes when the steering wheel turns. If the problem returns only after vibration or weather, report that pattern quickly. Intermittent camera faults are easier to solve when the conditions are fresh.
Keep the Symptom Specific
When booking the appointment, avoid saying only that the camera is broken. Say whether the screen is black, blue, delayed, distorted, flickering, foggy, or missing guidelines. Mention rain, car washes, trunk movement, recent collision work, or battery replacement. Those details tell the technician where to begin and reduce the chance of replacing a good camera while missing a wiring or module issue.