
A consistent character sheet shows how a character looks, moves, emotes, and changes across views without losing identity. It is a practical production tool, not just a polished illustration.
TL;DR: Define the character’s role, lock the core shapes, draw clean turnarounds, add expressions and poses, and label only the details that artists or collaborators must repeat.
Know What the Sheet Has to Do
A comic artist, animator, game artist, and writer may need different things from the same character sheet. Comics need repeatable silhouettes and expressions across panels. Animation needs turnarounds, mouth shapes, and body mechanics. Games need readable shapes from different camera distances and sometimes equipment variations. Before drawing, list who will use the sheet and what decisions it must settle.
A strong sheet answers production questions: How tall is the character? What shapes define the head and body? What details must never drift? What can simplify at small sizes? If the character’s costume changes, which elements stay recognizable? Adobe’s Character Animator user guide shows how digital animation tools rely on structured parts, rigging, and consistent assets, even if your final project uses another workflow.
Build the Character From Big Shapes First
Consistency begins with silhouette. Reduce the character to simple forms: square shoulders, round hair mass, triangular coat, long narrow legs, heavy boots, or a curved posture. If the silhouette works in black, the design is easier to recognize later. If it depends on tiny buttons or complex patterns, collaborators will struggle to repeat it.
Create a shape language note. It can be as simple as “soft circles with one sharp diagonal” or “boxy torso, thin limbs, oversized collar.” This note keeps later poses from drifting into a different design.
Essential Parts of a Useful Sheet
| Sheet element | Purpose | Minimum standard |
|---|---|---|
| Front view | Establishes proportions | Clear, neutral pose |
| Side view | Shows depth and posture | Same height marks as front |
| Back view | Defines hair, clothing, gear | No missing costume logic |
| Expression set | Shows emotional range | 6 to 10 readable faces |
| Pose set | Shows movement and attitude | 3 to 5 story-relevant poses |
| Detail callouts | Clarifies repeatable features | Only label what matters |
Do not overload the first sheet. If the character has weapons, props, transformations, or alternate outfits, create separate sheets. One crowded page is harder to use than three focused pages.
Draw Turnarounds With Discipline
A turnaround is not a beauty pose. It is a measuring tool. Use horizontal guide lines for eyes, nose, shoulders, elbows, waist, knees, and feet. Keep the stance neutral. Do not let one view have more attitude than the others. The goal is to make the character buildable from any angle.
If you are drawing digitally, keep each view on separate layers or groups. Mirror only as a starting point, then correct asymmetrical details. Hair, scars, badges, straps, and pockets often switch sides by accident when artists flip drawings. Add a small left-right note if the detail matters.
For projects involving filmed or animated storytelling, the planning habit overlaps with starting a simple home interview setup with light, sound, and B-roll: both depend on repeatable visual choices that keep the audience oriented.
Use Expressions to Define Personality
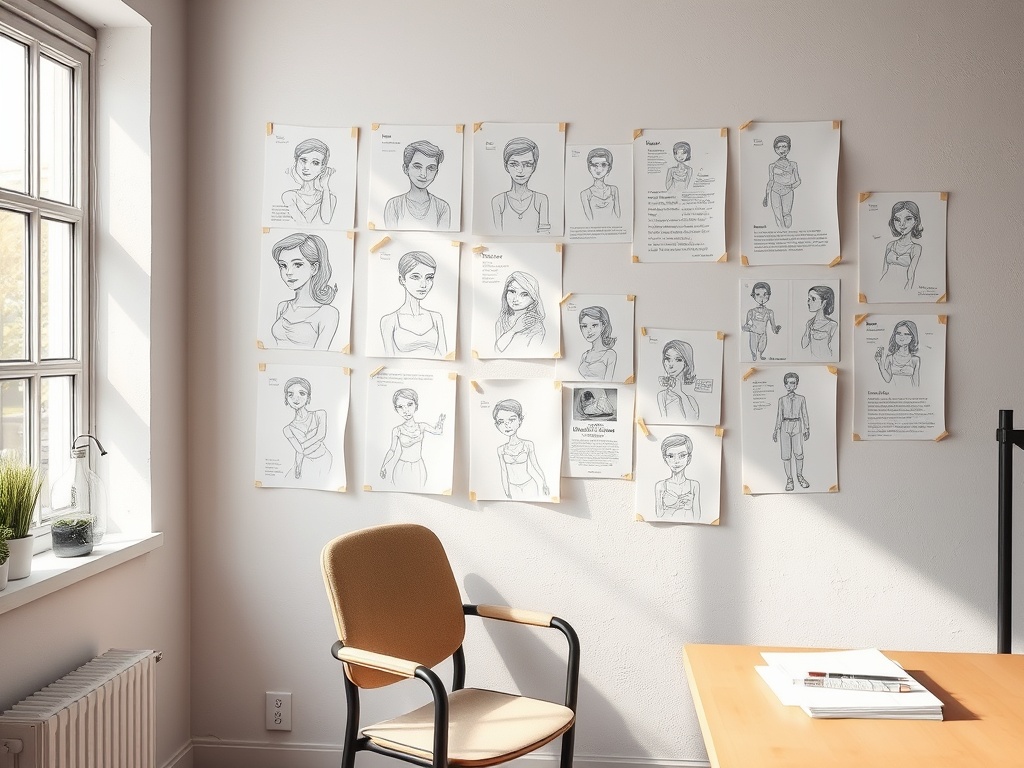
Expression rows should not be random emoji faces. Choose emotions the story needs: suspicion, embarrassment, forced confidence, joy, fear, anger, boredom, concentration, grief, or mischief. Keep the head structure consistent while changing brows, eyes, mouth, cheeks, and posture.
Add one “off-model risk” note. For example: “Do not make the eyes too large when surprised” or “Mouth corners stay sharp even in soft expressions.” These warnings help future drawings preserve identity.
Add Poses That Show Function
A character who fights, dances, hides, performs, casts spells, cooks, or investigates should have poses tied to those actions. Do not fill the sheet only with standing attitudes. Show how the costume behaves in motion. Does the coat flare? Does the backpack restrict the shoulders? Does the hair cover the eyes when the head tilts?
Storyboard training often emphasizes quick, clear communication. A resource such as StoryboardArt’s fundamental drawing guide for storyboard artists reinforces the value of clarity over decorative finish. Character sheets follow the same rule. A rough but readable production sheet beats a beautiful page that leaves collaborators guessing.
Common Mistakes That Cause Inconsistency
The first mistake is designing only the front view. Many designs collapse from the side or back because depth was never considered. The second mistake is adding too many tiny details. If a detail is hard to repeat, it needs a strong reason to stay. The third mistake is ignoring scale. A design that reads on a poster may fail in a small comic panel or game camera.
Another mistake is using different art styles across the same sheet. Keep line weight, shading, and proportions consistent. If you need a polished illustration, put it on a presentation page after the production sheet.
When to Get Feedback
Get feedback after the silhouette pass, after the turnaround, and after the expression set. Do not wait until the page is fully rendered. Ask specific questions: Can you recognize this character from the side? Which details feel hard to repeat? Does the pose language match the role?
A good sheet is successful when another artist can draw the character recognizably without asking constant clarification. That is the practical test. The sheet should protect the design while leaving enough room for acting, staging, and style.
Create a Version System
Character designs change as stories develop, so label versions clearly. Use dates or version numbers and keep older sheets in an archive rather than overwriting them. A simple version note can say what changed: collar simplified, eyes smaller, boots redesigned, palette reduced, or side view corrected. This protects collaborators from using outdated art. It also shows your decision-making path, which can be useful when you revisit a project after a long break or pitch it to a new team.
If the character will move between formats, add a small adaptation note. A comic version may keep line detail that a game model simplifies. An animation version may need clearer joints or mouth shapes. Naming those differences prevents the team from arguing later about which version is the true design.
For a solo project, this version control may feel formal, but it prevents accidental redesigns when you return after weeks away.